Tire maintenance & safety
Best price guarantee
Tire replacement coverage
24/7 roadside assistance
Easy returns
Last updated 3/13/2025 - Originally published 9/24/2020
Written by SimpleTire, Expertly reviewed by Brett Antosh
Tire punctures can happen at any time, leaving you stranded on the side of the road. Knowing how to handle this situation can save you time, money, and stress.
While some tire repairs require professional attention, others can be tackled with the right tools and know-how. Understanding the basics of tire repair empowers you to make informed decisions about your vehicle's safety.
In this article, we'll explore the world of DIY tire repair, providing practical tips and guidance on when to take matters into your own hands and when to seek expert assistance. Let's dive in and learn how to keep your tires rolling smoothly.
What is Tire Repair?
Tire repair involves fixing damage to a tire, such as punctures, to restore its integrity and usability. This process aims to seal the affected area, preventing air from escaping and moisture or debris from entering the tire's internal structure.
It's crucial to assess the extent of the damage and the location of the puncture to determine whether a repair is feasible. Some punctures, particularly those in the tread area, can often be fixed using a tire repair kit—a cost-effective solution for minor issues.
However, not all tire damage is suitable for a DIY approach. Knowing when to tackle a repair yourself and when to seek professional tire services, such as those offered by SimpleTire, is essential for maintaining your vehicle's safety and performance.
How to Determine if DIY Tire Repair is Appropriate
Evaluating a tire for DIY repair begins with checking the location of the damage. Punctures that occur within the central tread are generally suitable for home repair—this area is crafted to endure typical road impacts. Damage to the sidewall or shoulder, however, compromises the tire's structural integrity and typically requires expert evaluation.
The size of the puncture is another critical factor. Small punctures, like those from nails, can often be repaired with a standard tire repair kit. These kits, equipped with plugs and patches, can effectively seal minor punctures and prevent air leaks. Larger holes, particularly those exceeding a quarter-inch, usually necessitate professional intervention to ensure the tire remains safe for use.
Comfort with using a tire repair kit is essential. With the right tools and familiarity, addressing a minor puncture can be an easy task. If the repair process feels uncertain, it may be best to consult a professional to guarantee a safe and effective repair. Confidence in your ability and having access to the necessary equipment are key to a successful DIY tire repair.
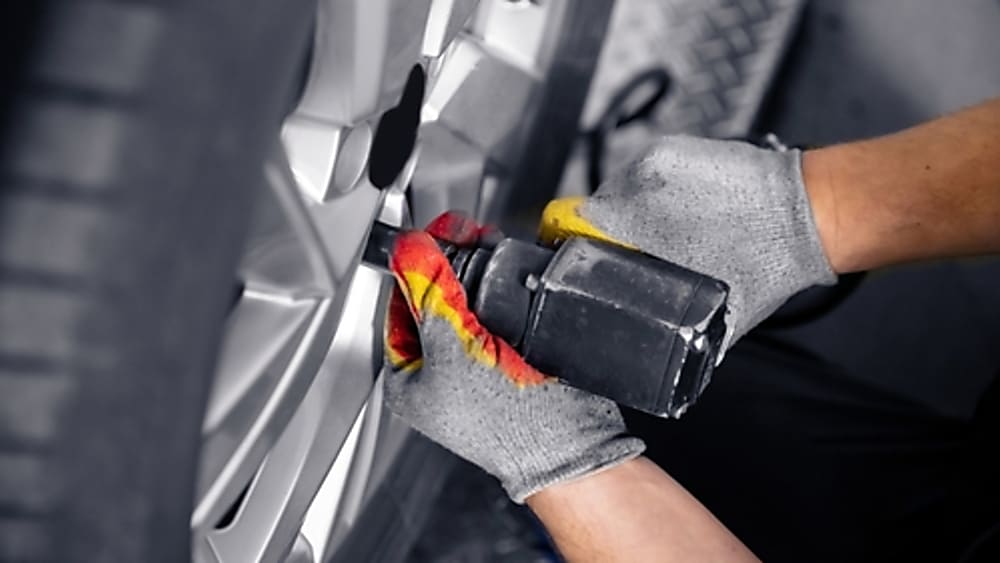
Step 1: Gather Your Tools
To begin any tire repair, assembling the appropriate tools is key. A tire repair kit is vital, typically containing items like plugs and patches necessary for addressing small punctures. These kits provide everything needed to effectively seal minor tire issues, ensuring you are well-prepared.
A dependable tire pressure gauge is crucial for accurately checking tire pressure, which is important for maintaining safety and performance on the road. Keeping your tires at the recommended pressure helps prevent uneven wear and improves fuel efficiency, making this tool indispensable.
Include pliers and a portable air compressor in your toolkit. Pliers assist in extracting debris from the tire, while the air compressor is used to restore the tire to its proper inflation level after repair. This set of tools empowers you to manage minor tire repairs confidently, ensuring your vehicle remains roadworthy.
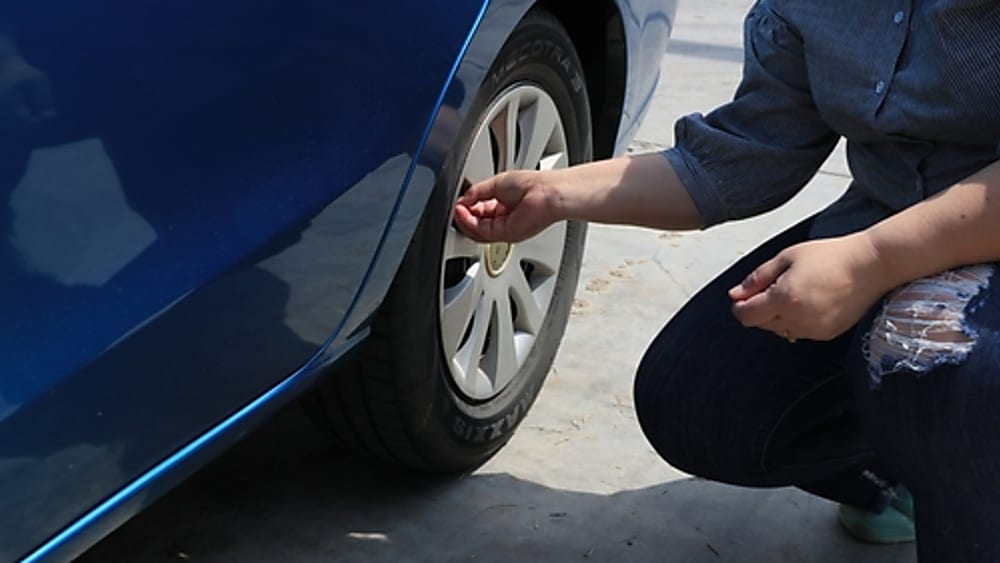
Step 2: Locate the Puncture
Identifying the exact spot of the tire damage is essential for a successful repair. Start by adding a bit of air to the tire; this helps create pressure, making the puncture easier to detect. Pay close attention to any subtle sounds of air escaping, which can guide you directly to the trouble area.
To visually confirm the puncture site, a solution of soapy water can be highly effective. Generously apply the mixture over the tire's surface, focusing on the tread. As the air escapes, bubbles will appear at the leak, clearly indicating the puncture's position.
Once located, mark the puncture clearly to ensure no time is lost in finding it again during the repair process. This preparation ensures you are ready to use your repair kit effectively, addressing the problem with precision.
Step 3: Use the Repair Kit
Start by cautiously extracting the item responsible for the puncture. A steady hand and a pair of pliers will help remove the debris without causing further harm to the tire. This careful removal is essential for a successful repair.
Once the puncture is clear, turn to your repair kit for the next steps. Refer to the kit's instructions to guide you in placing a plug or patch securely within the puncture. Proper insertion ensures the plug fits tightly, creating an effective barrier against air leaks.
After securing the plug, trim any excess material level with the tire's surface. This ensures a smooth ride and prevents the plug from being snagged or dislodged during travel. With these steps, your tire regains its reliability, ready for the road ahead.
Step 4: Reinflate and Check
Begin by using a portable air compressor to bring the tire back to its recommended pressure. Refer to your vehicle’s specifications to ensure you reach the proper level. This careful attention ensures the tire can handle the road with its intended performance and safety.
With the tire inflated, it’s important to verify the quality of your repair. Apply the soapy water solution over the fixed area once again. Observe for any new bubbles, as their absence confirms the seal is solid and the repair successful.
To ensure long-term success, keep an eye on the tire's pressure over the next several days. Regular checks with a tire pressure gauge will help identify any slow leaks early, maintaining your vehicle's reliability and safety on the road.
When to Call a Pro
Certain tire damages require the expertise only professionals can provide. Damage to the sidewall poses a significant risk to the tire's safety and demands attention beyond at-home fixes. The sidewall plays a vital role in supporting the vehicle's weight and absorbing road shocks. Any compromise here can lead to serious issues while driving.
Larger punctures, particularly those that extend deep into the tire, should also prompt a visit to a professional. Such damage might have affected the tire’s internal structure, necessitating a thorough inspection that only a qualified technician can provide. This ensures the tire remains safe and performs well under normal driving conditions.
Persistent air leaks or multiple punctures indicate deeper problems that warrant expert intervention. These issues could be symptomatic of aging tires, valve stem failures, or bead leaks. A professional has the necessary diagnostic tools to pinpoint and resolve such complex problems, ensuring your vehicle stays roadworthy and reliable.
While DIY tire repair can be a useful skill, it's crucial to recognize when professional assistance is necessary. At SimpleTire, we are committed to providing you with top-quality products. Whether you need help with a repair or are looking for new tires, shop for tires online with us and find the best deals to keep you rolling with confidence.
Ready to find the perfect tires?
Search By